
How To
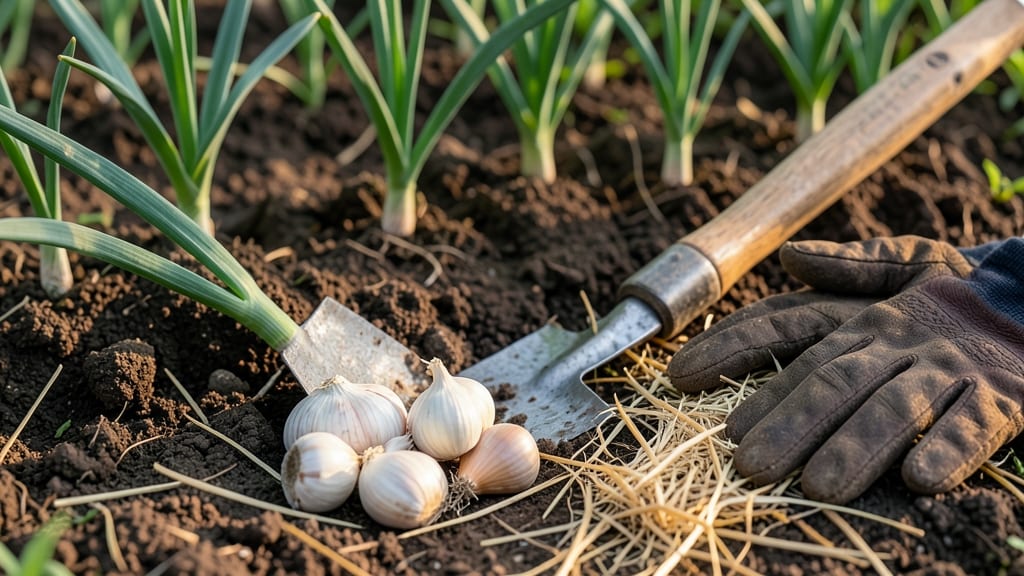
Planting garlic in the fall is your secret weapon for a bountiful harvest next summer—but get the timing wrong, and you’ll end up with rotten cloves or wasted effort.
The key isn’t just throwing seeds into the ground; it’s about understanding your USDA Zone 6a climate and working with nature’s rhythm.
I’ve grown garlic for years, and the difference between a mediocre crop and one so plump you’ll want to save seeds comes down to two things: planting 4-6 weeks before frost and preparing the soil just right.
Whether you’re a first-timer or a seasoned gardener, these steps will ensure your 🧄 thrives through winter and delivers bulbs that rival store-bought.
Most gardeners rush the process, but the best results come from patience—like letting the cold harden the cloves before spring’s growing surge.
I’ll walk you through the exact methods I use, from selecting the right cloves to mulching for winter protection, so you can avoid common pitfalls and enjoy garlic that’s sweeter and more flavorful than anything you’ve grown before.
Ready to transform your fall planting into a summer harvest? Let’s dive into the step-by-step guide that’s helped me (and thousands of other gardeners) grow garlic that’s the envy of the neighborhood.
Fall garlic planting calendar by USDA climate zones
Garlic thrives when planted in fall, but the exact timing depends on your USDA hardiness zone. The golden rule? Plant 4-6 weeks before the ground freezes—this gives roots time to establish before winter dormancy.
In Zone 3-4, aim for late September to early October, while Zone 8-9 gardeners can wait until November. Soil temps should hover around 40-50°F for optimal root growth.
Missed the fall window? Don’t panic. Some regions, like Zone 10, can plant garlic in winter (December-February) when soil temps drop below 70°F. However, most gardeners stick to fall for larger bulbs and better flavor.
Check your first frost date—planting too late risks premature bolting (flowering) the following spring.
Regional adjustments matter. In the Pacific Northwest, cooler, wetter winters mean planting earlier (late September) to avoid waterlogged soil. Meanwhile, Deep South gardeners (Zone 7-8) can push planting into November thanks to milder winters. Always verify your zone’s last frost date—this is your planting deadline.
Here’s your zone-specific planting window at a glance, including soil temp thresholds and frost timing:
| USDA Zone | Planting Window | Soil Temp Threshold | Frost Timing | Key Adjustments |
|---|---|---|---|---|
| 3-4 | Late September–Early October | 40-50°F | First frost: Mid-October | Use heavy mulch (6+ inches) to insulate |
| 5-6 | Mid-October–Early November | 45-55°F | First frost: Late October | Ideal for hardneck varieties |
| 7-8 | Late October–Early December | 50-60°F | First frost: Mid-November | Can plant softnecks later in season |
| 9-10 | November–January | 60-70°F (plant when soil cools) | Minimal frost risk | Prioritize shade cloth in summer |
*Adjust for early/late frosts in your microclimate.
Pro tip: Use a soil thermometer to confirm temps. If soil is still above 60°F, wait a week—warm soil speeds up germination and can lead to rot.
In Zone 3-4, I’ve had success planting hardneck garlic as early as September 1st, but always cover beds with straw mulch (4-6 inches) to protect cloves from freeze-thaw cycles.
For organic gardeners, avoid synthetic fertilizers in fall. Instead, amend soil with composted manure or worm castings 2-3 weeks before planting. This boosts nutrient availability without burning young roots. Aim for pH 6.0-7.0—garlic hates acidic soil.
Regional quirks matter. In humid climates (e.g., Southeast), space cloves 6 inches apart to improve airflow and reduce fungal diseases. In arid zones (e.g., Southwest), mulch with gravel to retain moisture. Always choose large, plump cloves—they yield bigger bulbs than small ones.
Miss the fall window? Try spring planting, but yields will be 30-50% smaller. For best results, stick to fall and let winter’s chill sweeten the bulbs naturally. Just remember: timing is everything—and your garlic will thank you with massive, flavorful harvests next summer.
Step-by-Step fall garlic planting guide for maximum yield
Now that you’ve nailed the timing, let’s get into the hands-on steps that’ll transform your fall garlic planting into a summer harvest of plump, flavorful bulbs. The secret isn’t just throwing cloves into the ground—it’s about creating the perfect conditions for root development before winter sets in.
First, I always start with soil preparation. Garlic thrives in well-draining soil with a pH between 6.0 and 7.0. Test your soil first—if it’s too acidic, mix in lime or wood ash; if it’s too alkaline, add sulfur or peat moss.
Work in 2-3 inches of compost or well-rotted manure to give those roots a nutrient boost.
Next, choose your garlic variety. Hardneck garlic (like Rocambole or Purple Stripe) is best for cold climates and produces flavorful scapes, while softneck garlic (like Artichoke or Silverskin) stores longer but needs milder winters. I recommend sticking with locally adapted varieties for your USDA Zone.
Here’s where the magic happens—planting the cloves correctly. Break apart your garlic bulb, keeping the largest, healthiest cloves (save the small ones for cooking). Plant them pointed end up, about 2 inches deep and 4-6 inches apart in rows 12-18 inches apart.
This spacing gives roots room to spread without competing.
- 🔹 Step 1: Test soil pH (aim for 6.0-7.0) and amend with compost
- 🔹 Step 2: Break apart bulbs, select largest cloves, plant pointed end up
- 🔹 Step 3: Plant 2 inches deep, 4-6 inches apart, rows 12-18 inches apart
- 🔹 Step 4: Water deeply to settle soil (no standing water)
- 🔹 Step 5: Apply 2-3 inches of mulch (straw or leaves) after ground freezes
- 🔹 Step 6: Avoid fertilizing in fall—roots will grow next spring
After planting, give your garlic a deep watering to help settle the soil around the cloves. But here’s the critical part: don’t overwater. Garlic needs moderate moisture but hates soggy soil, which can rot cloves.
Once the ground freezes, add a 2-3 inch layer of mulch (straw or leaves) to protect the soil and insulate the cloves.
The final touch? No fall fertilization. You might be tempted to feed your garlic now, but the goal is to encourage root growth, not top growth. Save fertilizing for early spring when the soil warms up.
With these steps, your garlic will emerge in spring ready to bolt into robust growth—and you’ll be rewarded with bulbs that’ll make your kitchen (and your neighbors’ gardens) jealous.