
Companion Plants
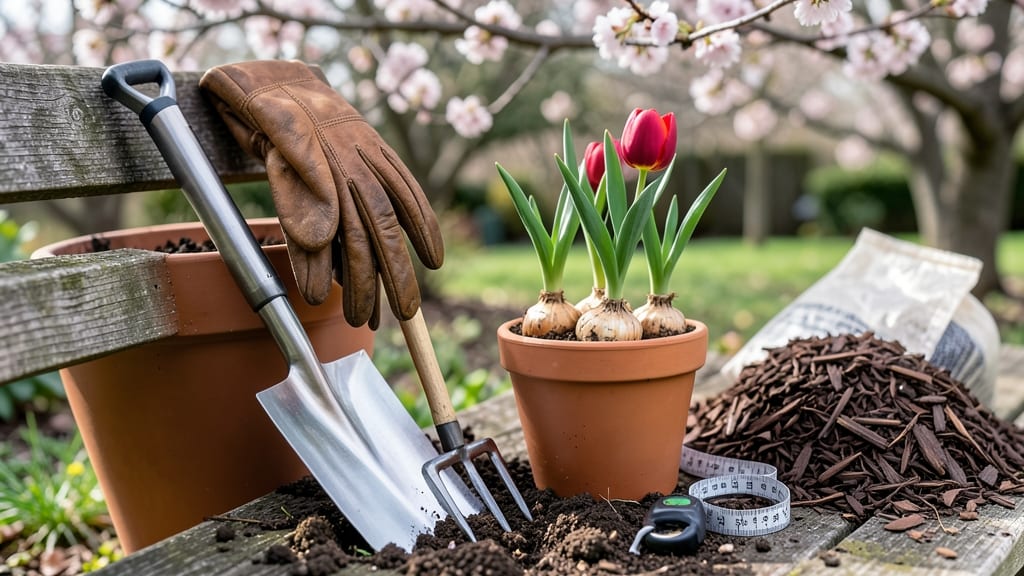
When can I plant potted tulips in the ground to guarantee vibrant blooms next spring? Timing this move is everything—too early risks frost damage, while waiting too long may leave your bulbs struggling to establish roots before winter arrives.
In USDA Zone 6a, the ideal window stretches from September to November for fall planting or March to April in spring—but there’s more to it than just months. Tulips need chill hours to trigger flowering, and getting this wrong means no blooms or weak growth.
I’ll walk you through the exact 6-week rule before your first frost, how to prep your soil for zero transplant shock, and why some tulips (like Darwin hybrids) thrive better in cooler climates. Let’s get those potted beauties in the ground the right way.
Whether you’re a first-time gardener or a seasoned pro, these steps will ensure your tulips wake up strong and ready to bloom. No more guessing—just science-backed timing and care for showstopping results.
The perfect planting window: chill-hour requirements by tulip type
Tulips are finicky about timing—plant them too early, and they’ll rot in cold soil; too late, and they won’t get enough chill hours to bloom. The key is understanding your tulip variety and hardiness zone to pinpoint the 6-8 week window before your first hard frost.
Most gardeners focus on fall planting, but spring works too—just after the last frost date. Let’s break it down by type so you can avoid the guesswork.
Not all tulips thrive in the same climate. Dutch tulips, like the classic Parrot or Darwin Hybrid varieties, need 12-16 weeks of temperatures below 40°F (4°C) to form buds. Species tulips, such as Tulipa tarda or Tulipa greigii, often tolerate shorter chill periods (as few as 8-10 weeks).
Knowing your zone and variety ensures your tulips wake up ready to bloom, not confused by warm spells.
Here’s how to calculate your chill-hour window: Check your USDA hardiness zone (Zone 3-8 for most tulips). In Zone 5, aim for September 15-October 15; in Zone 8, shift to November 1-December 1.
Spring planters in Zone 6 can transplant potted tulips March 15-April 15, but only if soil temps stay above 50°F (10°C). Use a soil thermometer to confirm—cold soil shocks roots.
Pro tip: If you’re in a warmer zone (Zone 9+), tulips may need artificial chilling (store-bought bulbs often undergo this). For potted tulips, move them to a garage or unheated shed for 8-10 weeks before planting to mimic winter dormancy.
This trick works wonders for forcing early blooms in mild climates.
🌷
Tulip Planting Window by Type & Zone
| Tulip Type | Chill Hours Needed | Ideal Planting Window (Fall) | Spring Planting Window | Zone Fit |
|---|---|---|---|---|
| Dutch Hybrid (e.g., 'Apeldoorn') | 12-16 weeks | Sept 15-Oct 15 | March 15-April 15 | 3-7 |
| Darwin Hybrid (e.g., 'Ice Cream') | 14-18 weeks | Sept 1-Oct 30 | March 1-April 10 | 4-6 |
| Species Tulip (e.g., 'Greigii') | 8-10 weeks | Oct 1-Nov 15 | April 1-May 1 | 5-8 |
| Fosteriana (e.g., 'Red Emperor') | 10-12 weeks | Sept 30-Oct 30 | March 20-April 5 | 3-6 |
Adjust dates 1-2 weeks earlier for cooler zones (e.g., Zone 3) or later for warmer zones (e.g., Zone 8).
Your local first frost date is your deadline. For example, if your frost arrives October 15, plant by September 1 to give roots time to establish. Use the National Weather Service’s frost calendar or a local garden center’s planting guide for precise dates.
Miss the window? Don’t panic—spring planting still works, but expect smaller blooms the first year as the bulbs adjust.
One mistake I see often is planting too deep in heavy clay soil, which suffocates roots. Tulips need 6-8 inches of loose, well-draining soil—dig a hole 3x wider than the pot but only as deep as the bulb’s height.
If your soil is compacted, amend it with compost or sand to improve drainage. This small step prevents rot and ensures strong stems for next year’s blooms.
For container-grown tulips, check the roots before transplanting. If they’re circled tightly around the pot, gently tease them apart or slice the rootball with a knife to encourage outward growth.
Water the pot 24 hours before planting to reduce shock—hydrated roots establish faster in garden soil. After planting, mulch with 2-3 inches of straw to insulate bulbs and retain moisture.
🌿
Remember: Tulips are perennials, but they need 6-8 weeks of chill and* consistent care to rebloom yearly. If you’re in a mild-winter zone (Zone 9+), consider lifting bulbs after flowering and storing them in a cool, dry place until fall replanting.
This trick extends their lifespan by years—my Zone 9 tulips have bloomed for 5+ years using this method!
Step-by-step guide: how to transition potted tulips to ground planting
Moving potted tulips from containers to your garden bed is easier than you think, but skipping key steps can lead to transplant shock or poor blooming. Start by inspecting your bulbs—healthy roots should fill half the pot and feel firm when gently squeezed.
If roots are circling the pot, trim them with clean sterilized scissors to encourage outward growth.
Choose a sunny, well-draining spot with at least 6 hours of sunlight. Tulips hate soggy soil, so avoid low areas where water pools. Amend the soil with compost or aged manure to improve drainage and fertility.
A simple soil test can reveal if your garden needs extra phosphorus for root growth.
Here’s how to plant them like a pro—follow these steps to minimize stress on your tulips:
After planting, keep the soil consistently moist but not soggy for the first 2-3 weeks. Avoid fertilizing immediately—wait until spring growth appears before applying a balanced 10-10-10 fertilizer.
In fall-planted tulips, roots will establish before winter, while spring-planted bulbs need extra care to catch up with chill hours.
Watch for yellowing leaves in early spring—a sign of nutrient deficiency. A light top-dressing of compost or a low-nitrogen fertilizer will boost blooming. With proper timing and care, your potted tulips will reward you with bold, vibrant blooms next season.